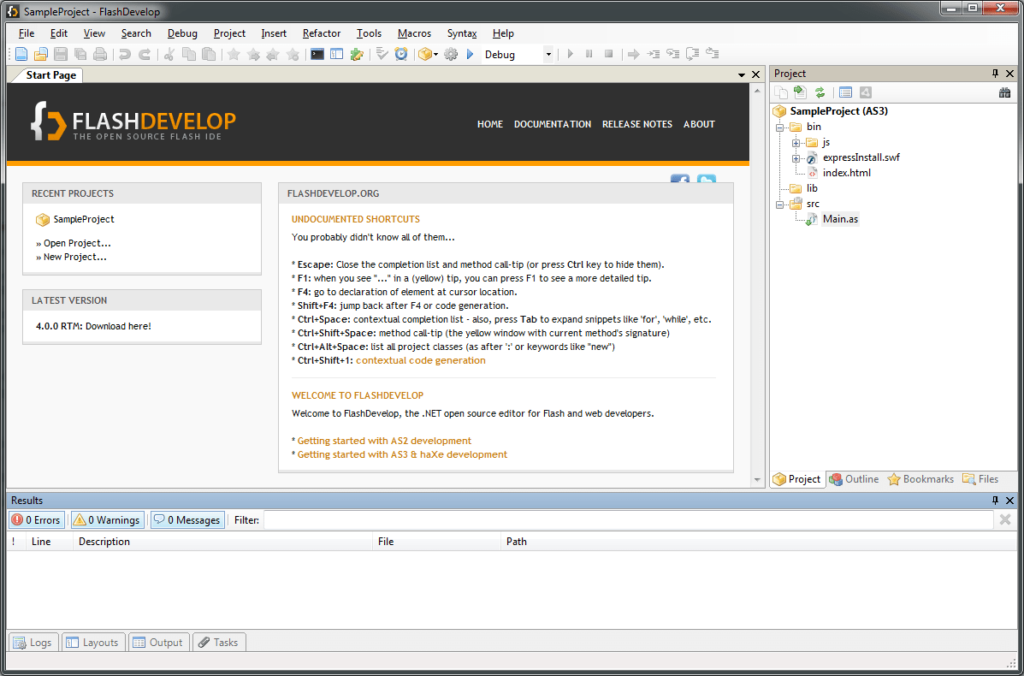
This tutorial will show you how to use FlashDevelop and the Haxe programming language to build a Flash application with an embedded true type font for displaying text.

Step 1:
Import a true type font into your FlashDevelop project. You can do in one of two ways.
- Drag a font from Windows Explorer onto the project tree in FlashDevelop.
- Right click the project tree, select Add, select Existing File and then select a font.
If you have imported the font correctly you will see it listed in the project tree in FlashDevelop as in this picture.
Step 2:
Adding the font to the asset library.
Adding the font to the asset library tells FlashDevelop to embed the asset into the Flash application.
- Right click the font in the project tree.
- Select Add To Library
If you have successfully added the font to the asset library it will display with blue text in the project tree.
Step 3:
Give the font a friendly name.
Now that the font is embedded in our application we are able to use it in our code. By default FlashDevelop tends to give library assets long names, how ever it is very easy to give assets more friendly names.
- Right click the font in the project tree.
- Select Options
- Select the Advanced tab
- Uncheck the “Auto generate id for attachMovie();” option
- Enter a friendly name in the text box underneath.
Step 4:
Display some text.
The TextField and TextFormat are the classes needed to display the text on the screen with a custom font. Create a TextFormat object and set the font field to the friendly name that you gave your font in step 3.
textFormat.font = “Rexlia”;
Next create a TextField object. Set the embedFonts field to true and then set the defaultTextFormat field to the TextFormat object you created earlier. Add it to your stage as per normal and you should now see some text on the screen using the embedded font.
textField.embedFonts = true;
textField.defaultTextFormat = textFormat;
flash.Lib.current.addChild(textField);
Example: